

The Nametag project begins the school year with students creating a piece that visually represents who they are and presents the challenge for them to speak to the entire class.
This assignment creates an opportunity for students to introduce themselves to each other, while also offering opportunities for creative expression and personal connections. It is a good way to informally introduce the concept of symbols, and explicitly teach strong oral communication skills.
English Course Pack: Unit One – Literacy Skills

This assignment is part of the The Full English Course Park. This piece is part of Unit One: Literacy Skills, which focuses on creating a strong foundational understanding of literacy skills, PEE paragraph writing, and embedding quotations as textual support.
If you would like to say thanks, consider buying me a coffee. But that is neither required, nor expected.
1.01 – The Name Tag Assignment

Step One: The Fifteen Points
Begin this assignment by providing students a copy of the assignment package. Ask them to fill out the fifteen points – five adjectives that describe them, five things they enjoy doing, and five locations that are important to them.
Reminding them that a location can be as broad as the universe, or as specific as the chair in the corner of their room.
I suggest providing five minutes for students to complete this task, and then reassessing based on the needs of your students. They should all be able to complete this within ten minutes. If that seems unlikely, encourage them to ensure that they have at least one item in each of the three columns.
Once complete, encourage students to share some of their points with the class, or elbow partners.
Step Two: Selecting their Points
Next, students should choose which of the points from each column best relates to them. These are the things that they will visually represent on their name tag. Because of this, students must write how they will represent this. They could choose to draw a bird to represent the fact that they like birds, or they could draw a bird to symbolically represent the fact that they like singing.
This is a great moment to introduce the idea of symbols, and symbolic representation without formally introducing the topic.
Students may choose to draw a thumbnail sketch of their visual representation or simply write the word under the visual representation column.
Once complete, they will need to select a fourth item (from any of the three columns) and select a visual to represent it.
Finally, students should be encouraged to share one of their four final selections with the class.
Step Three: Explaining their Representations
This is a very early introduction to paragraph writing, and it will allow you to assess your students’ abilities at the beginning of your course. This is an excellent opportunity for some diagnostic feedback, or to gauge the class-wide needs of your students.
I would suggest not using this as an opportunity to teach paragraph writing, but rather just as a way to check sustained writing over fifteen or twenty minutes. If you like, you can draw attention to the paragraph exemplar on the final page of the package.
Step Four: Planning and Creating the Name Tag
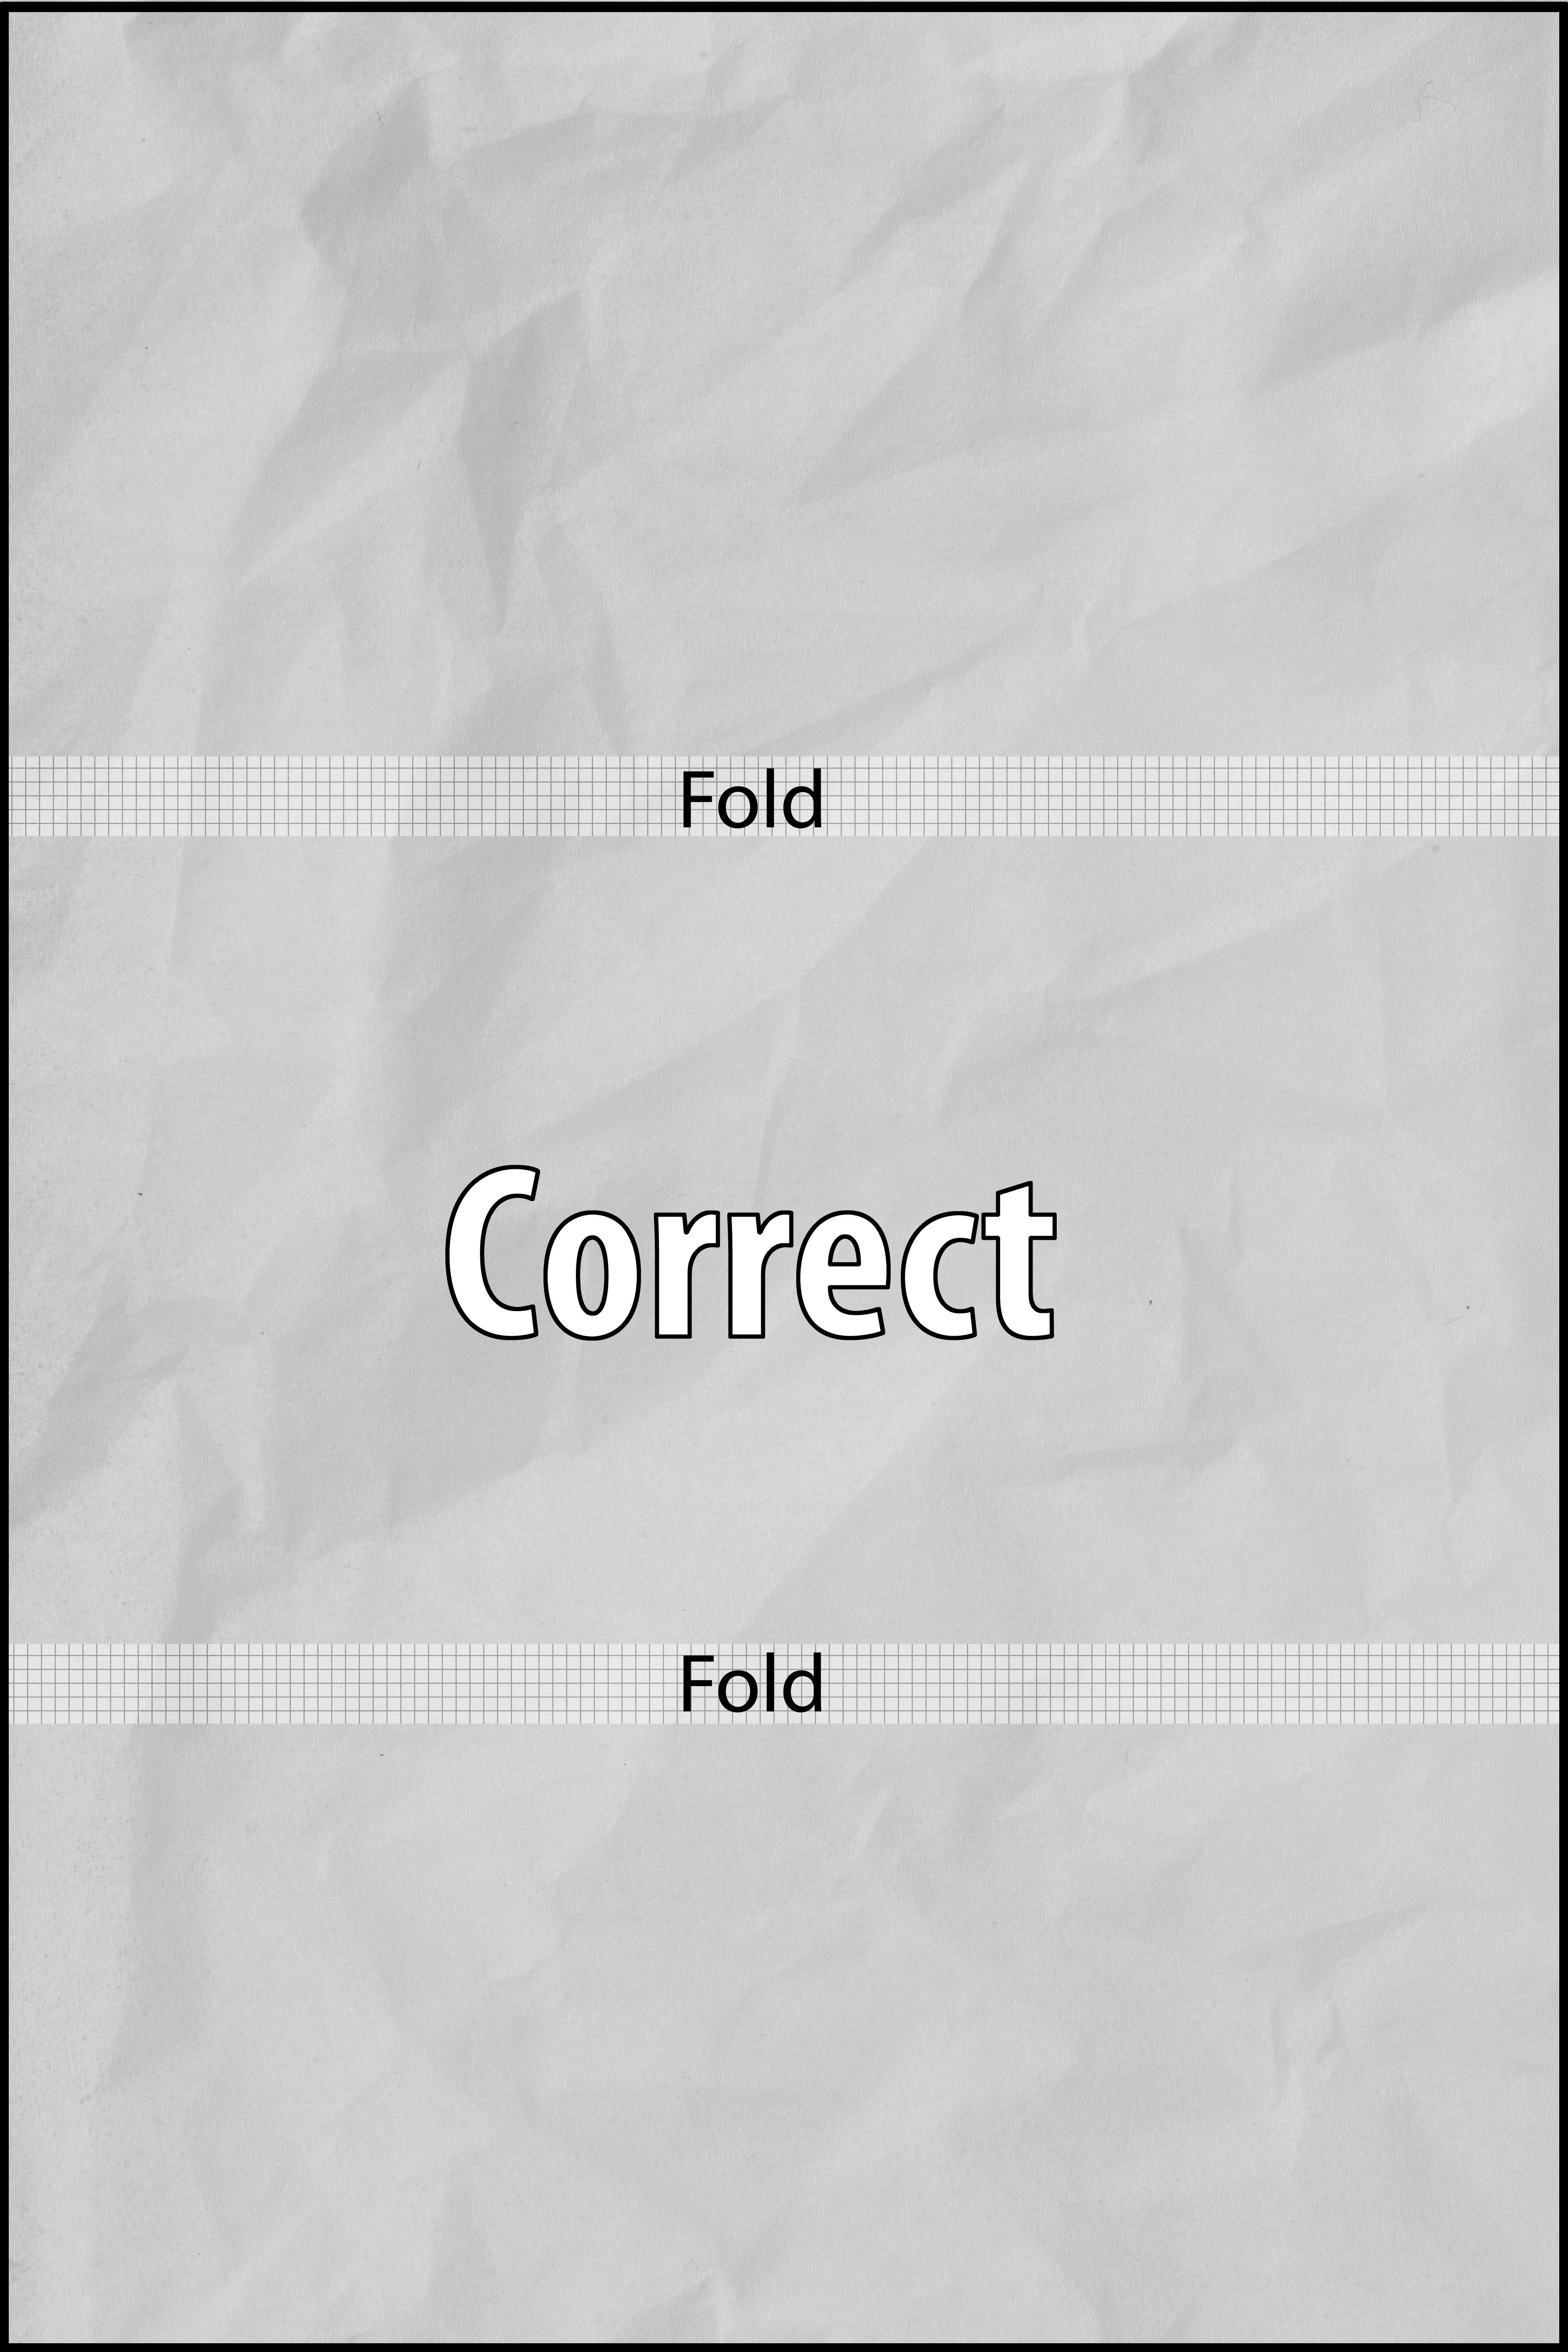
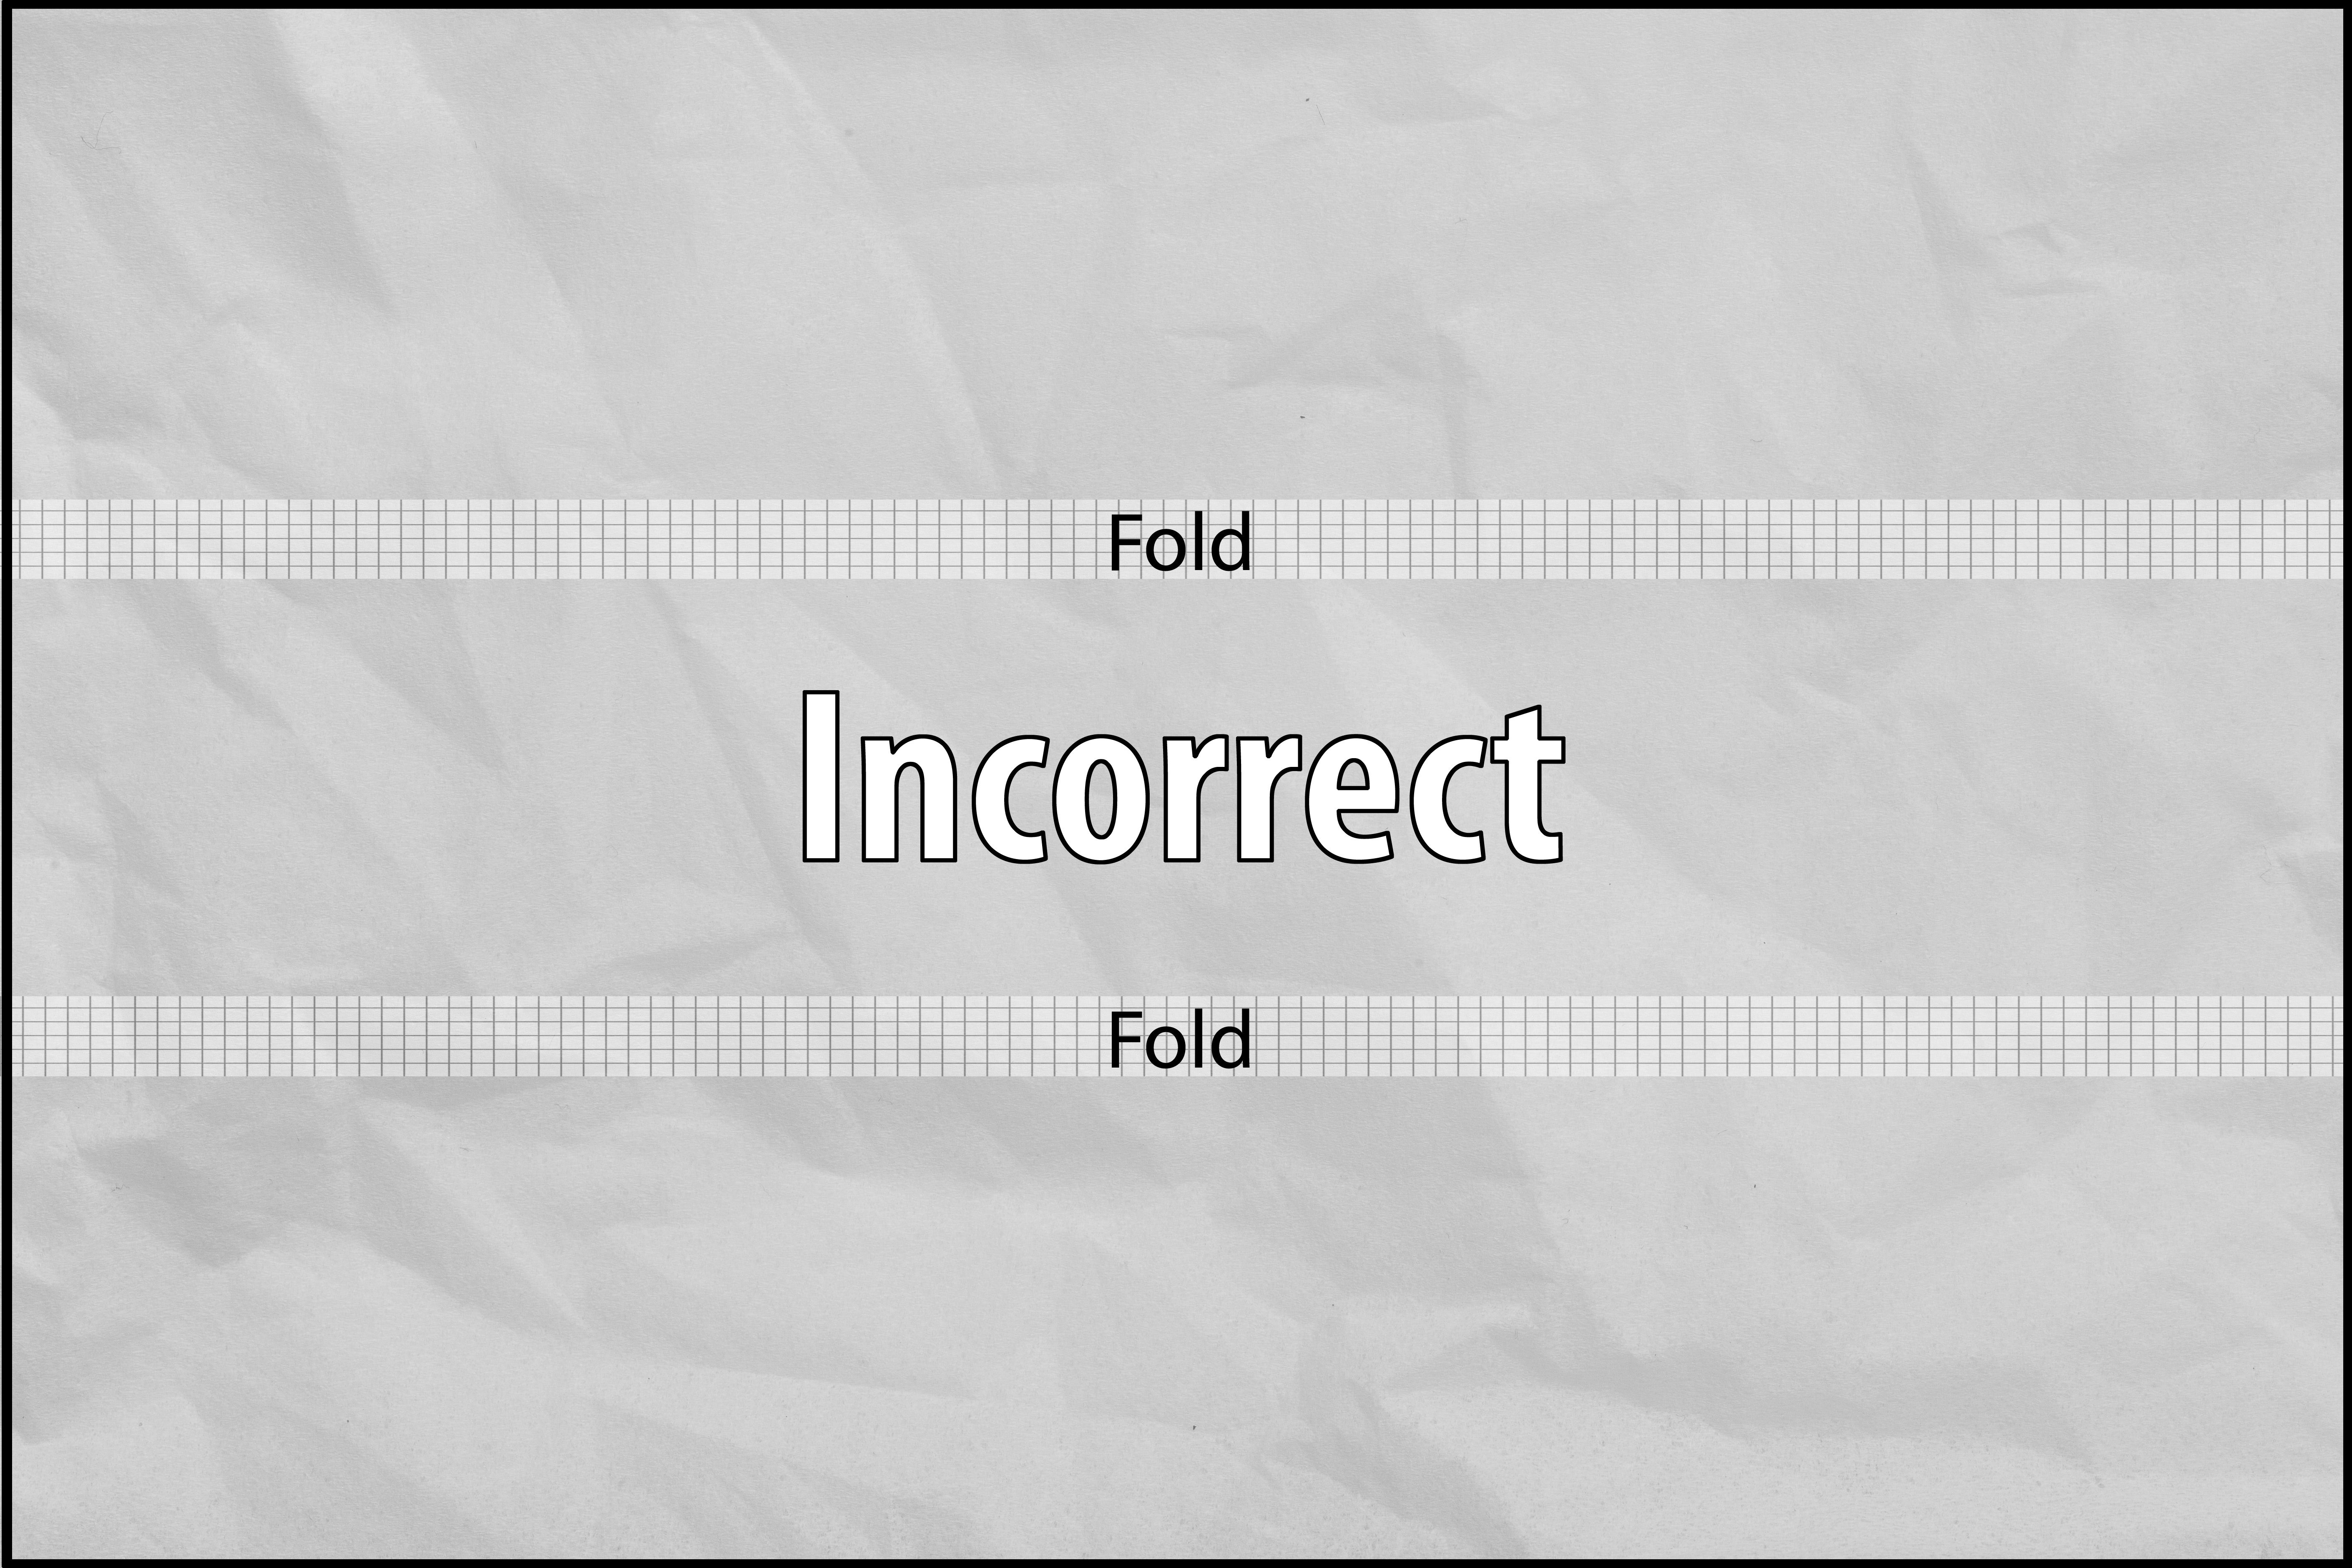
This stage introduces the visual planning. Once planned (or if this piece is skipped in the interest of time, or engagement) students can fold a piece of paper three times (using hamburger folds, not hot-dog folds.) They should fold the paper when held in portrait, not landscape for those who aren’t familiar with elementary paper-folding terminology.
How to Fold
Once folded, they should draw their four images, integrating them with their largely written name where possible. The letter L could become a hockey stick, or an M could become a mountain range.
These nametags should be fully coloured in, including the background (even if it’s just shaded one uniform colour).
The Rubrics
Next up are the rubrics. These are not well designed, fully crafted, rubrics. And, there’s a reason for that. These rubrics exist as checklists, slowly introducing the concept of rubrics while transitioning from what students like likely more familiar with from Grade 8.
I explain that these pieces will all be graded through the use of levels, and that five checkmarks may still only result in a level 3+ rather than a 4+ based on quality. However, you are free to allow five check marks for the Media piece to equate to a perfect grade, as a way to encourage students to maintain their high levels of success.
These checklists also allow you to demonstrate the skills you are looking for.
Be sure that enough time is taken to go over, demonstrate, and explain each of the ten oral communication skills that you will be evaluating them on.
Step Five: The Oral Presentation
Prior to presenting, ensure that you stand in front of the classroom, and highlight all ten of the skills required for strong oral communication skills. Demonstrate tone by removing it from your voice, or volume by shifting from being quiet to loud.
Ultimately what students should take away is that the audience is engaged when things are changing. The audience is tricked into refocusing if tone or volume shifts effectively, they are tricked to focus when the speaker moves slowly or gestures with their hands.
Feel free to be a little hyperbolic and over-excited as you demonstrate these pieces. And then, if you wish, quickly invite each student to demonstrate their skills by reading a three sentence piece from a book of their choosing (from a pre-arranged selection). I like to include:
- A cook book
- An old science fiction book
- A Young Adult Thriller
- A how-to guide from many decades past
You want students to read something that is a little “silly” so that they won’t feel self conscious, but will have already got up in front of the entire class.
The Presentation
Once students have completed their name tags, learned and practiced oral communication skills, and had a chance to perform their presentations with small groups, they will present to the class.
I allow students to pre-record their presentations, or present in front of the class. Neither choice is “easier” than the other, but it allows students to select what works best for them. You can then encourage students to choose other options if you like, as they progress.
The Impact
Now, on the second day of class all of your students will have created something wonderful, felt comfortable enough to speak to the entire class about a familiar subject, and created name tags that you can use for name-to-face recognition. Taking in these name tags at the end of each class and handing them out at the beginning of the next one helps cement student names.
Once you feel the name tags are no longer required, they can be placed on the wall to honour student work, and create a sense of ownership for them in the classroom.
I have also used these posted name tags as sticker charts, awarding one sticker for each piece of work that is handed in on time. Since, I do not believe that late marks should not be deducted the fear of missing out on a sticker goes a long way to encourage students to adhere to deadlines.
Not only that, but the visual representation of stickers on name tags also serves as quick feedback for you, as the teacher, to understand what students might need more one-on-one focus and intervention.
English – Unit One: Literacy Skills

1.17 – RICH Reading Log (English Lesson)
RICH Reading Log honours Personal Choice Reading. Reading Indenpendent CHallenges is a form a Personal Choice Reading that students engage in during almost every class.…

1.16 – The Movie Poster Assignment (English Lesson)
Designing a movie poster requires attention to detail, use of symbols and symbolism, an understanding of how to merge text with visuals, and how to…

1.15 – Movie Posters: Slide Deck (English Lesson)
Movie posters are incredible media texts, because they combine both art theory, and advertising. They can be appreciated as pure visual texts, but also as…

1.14 – Teaching the Media Triangle (English Lesson)
The Media Triangle is an important tool that students will use to discover the messages and meaning of any text. Rather than simply looking at…

1.13 – In-Class Writing: Topic Journals (English Lesson)
Topic Journals are an excellent way to gauge students’ Reading and Writing skills, through in-class writing opportunities. Topic Journals will focus on text-to-theme, as well…

1.12 – The Swan as a Metaphor for Love: Short Story – Connecting (English Lesson)
The Swan as a Metaphor for Love is a short story written by Amelia Gray and can be found online at Joyland Magazine. It is…

1.11 – Connecting: Slide Deck (English Lesson)
When students connect to text, they build deeper meaning both with the text, and with what they connect it to. By teaching how to make…

1.10 – Determining Importance & Summarizing: Slide Deck (English Lesson)
Building students’ literacy skills by focusing on Determining Importance and Summarizing allows them to read for meaning, and decode in an effective way that leads…

1.09 – Taylor Swift: Short Story – Questioning (English Lesson)
Taylor Swift is a short story written by Hugh Behm-Steinberg and can be found online at Gulf Coast Magazine. It is a strange story about…

1.08 – Questioning: Slide Deck (English Lesson)
The Questioning slide deck follows the same framework that all the literacy skills slide decks do. It starts by asking students what the skill entails,…

1.07 – Made out of Meat – Short Story Visualizing and Inferring (English Lesson)
Terry Bisson’s story, They’re Made Out of Meat, is a perfect way to put inferring into practice. After reading the story aloud, students are asked…

1.06 – Inferring: Slide Deck (English Lesson)
This slide deck introduces students to the literacy skill, Inferring. It is designed to be moved through slowly, scaffolding an understanding of Inferring for students…

1.05 – The Drawbridge: Character Monologues (English Lesson)
The Drawbridge Character Monologue assignment builds upon the now-familiar text that was explored in 1.04 – The Drawbridge: PEE Paragraphs, asking students to consider the…

1.04: The Drawbridge: PEE Paragraphs (English Lesson)
The Drawbridge PEE Paragraph activity brings together all of the learning that has taken place so far. The beginning of the lesson should be run…

1.03: Embedding Quotations: Slide Deck (English Lesson)
Embedding Quotations is a necessary skill that students will use throughout their years in secondary and post-secondary education. This slide deck introduces the idea of…

1.02: Alligator River (English Lesson)
Alligator River is a short story that will have your class yelling at each other, screaming at each other, becoming enraged at each other. And…
English Course Packs: Full Units
Unit One: Literacy Skills
Unit Two: Poetry
Unit Three: Literature Circles
Unit Four: Creative Writing & Choose Our Way Tales (In Progress)
Unit Five: Essay Writing (In Progress)
Unit Six: Culminating Tasks (In Progress)

Written by…
Michael Barltrop has been teaching since 2006, integrating comics, video games, and TTRPGs into his classroom. He has been the head of English, Literacy, Special Education, and Assessment & Evaluation and Universal Design. Feel free to reach out through Twitter @MrBarltrop!
Feel free to support the website hosting by buying him a coffee or sharing this post on facebook, twitter, or whatever social media is trending these days.
